Authorize wallet access to a service account
Follow these steps to enable a service account to send or retrieve transactions from a wallet.
Before you begin
This guide assumes that you have:
- A user with the
MANAGERrole at the project level or higher permissions. - A service account created on your organization.
- A wallet registered on your organization.
Step by step
To authorize wallet access to a service account:
Open MARCO Console.
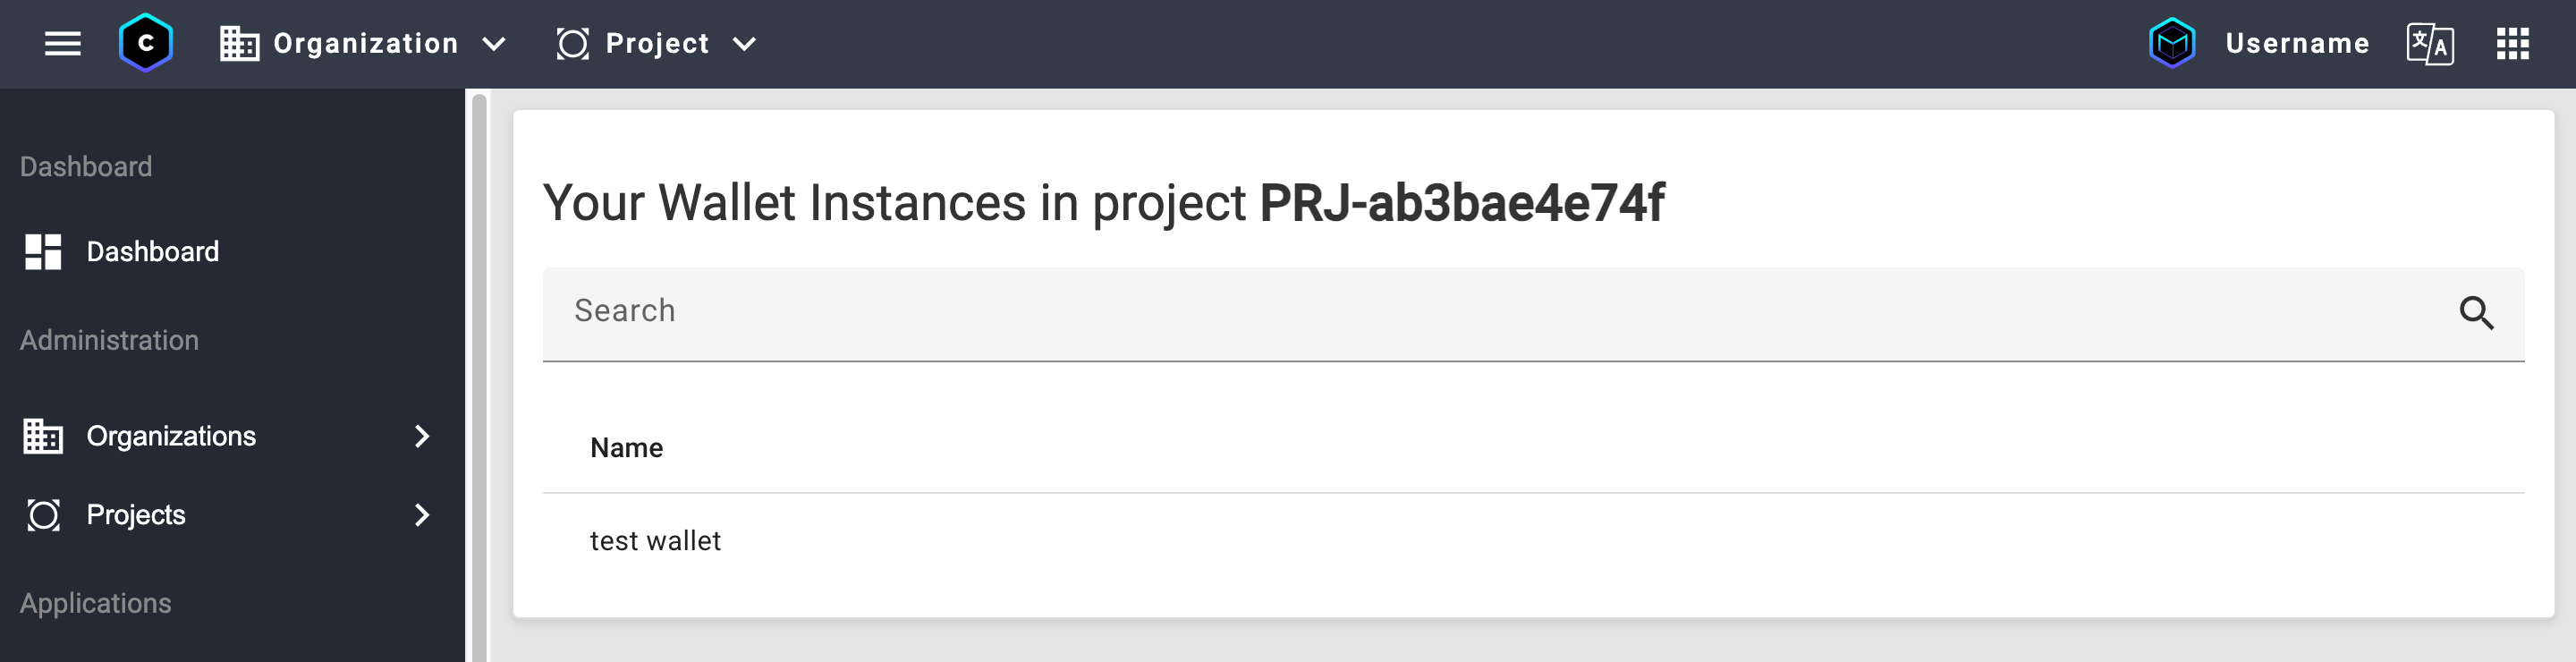
On the left sidebar, go to Wallets > Wallets > List instances.
Choose the wallet that will sign the transaction.
Open the Identity Permissions tab.
In the Add Identity field, write the service account's email address that will make the API call.
 note
noteYou can find the service account's email address in the IAM > Service accounts > List accounts page on the MARCO Console.
Click Add. This will add the service account to the list of identities with permission to view the wallet.
Choose the service account from the list.
In the Grant Role field, select User.

Click Grant. This will grant the service account permission to use the wallet.
Next steps
Now that you have authorized wallet access to the service account, you can: