Assign roles to identities
MARCO lets you assign roles to identities at the organization, project, and resource levels.
In this guide, you will learn how to assign roles to identities using the MARCO Console.
Before you begin
This guide assumes that you have a user with the MANAGER role at the organization level or higher permissions.
Assign roles at the organization level
To assign a role to an identity at the organization level:
- Open MARCO Console.
- On the left sidebar, go to Administration > Organization > List organizations.
- Select the organization you want to manage.

- Open the Identity Permissions tab.
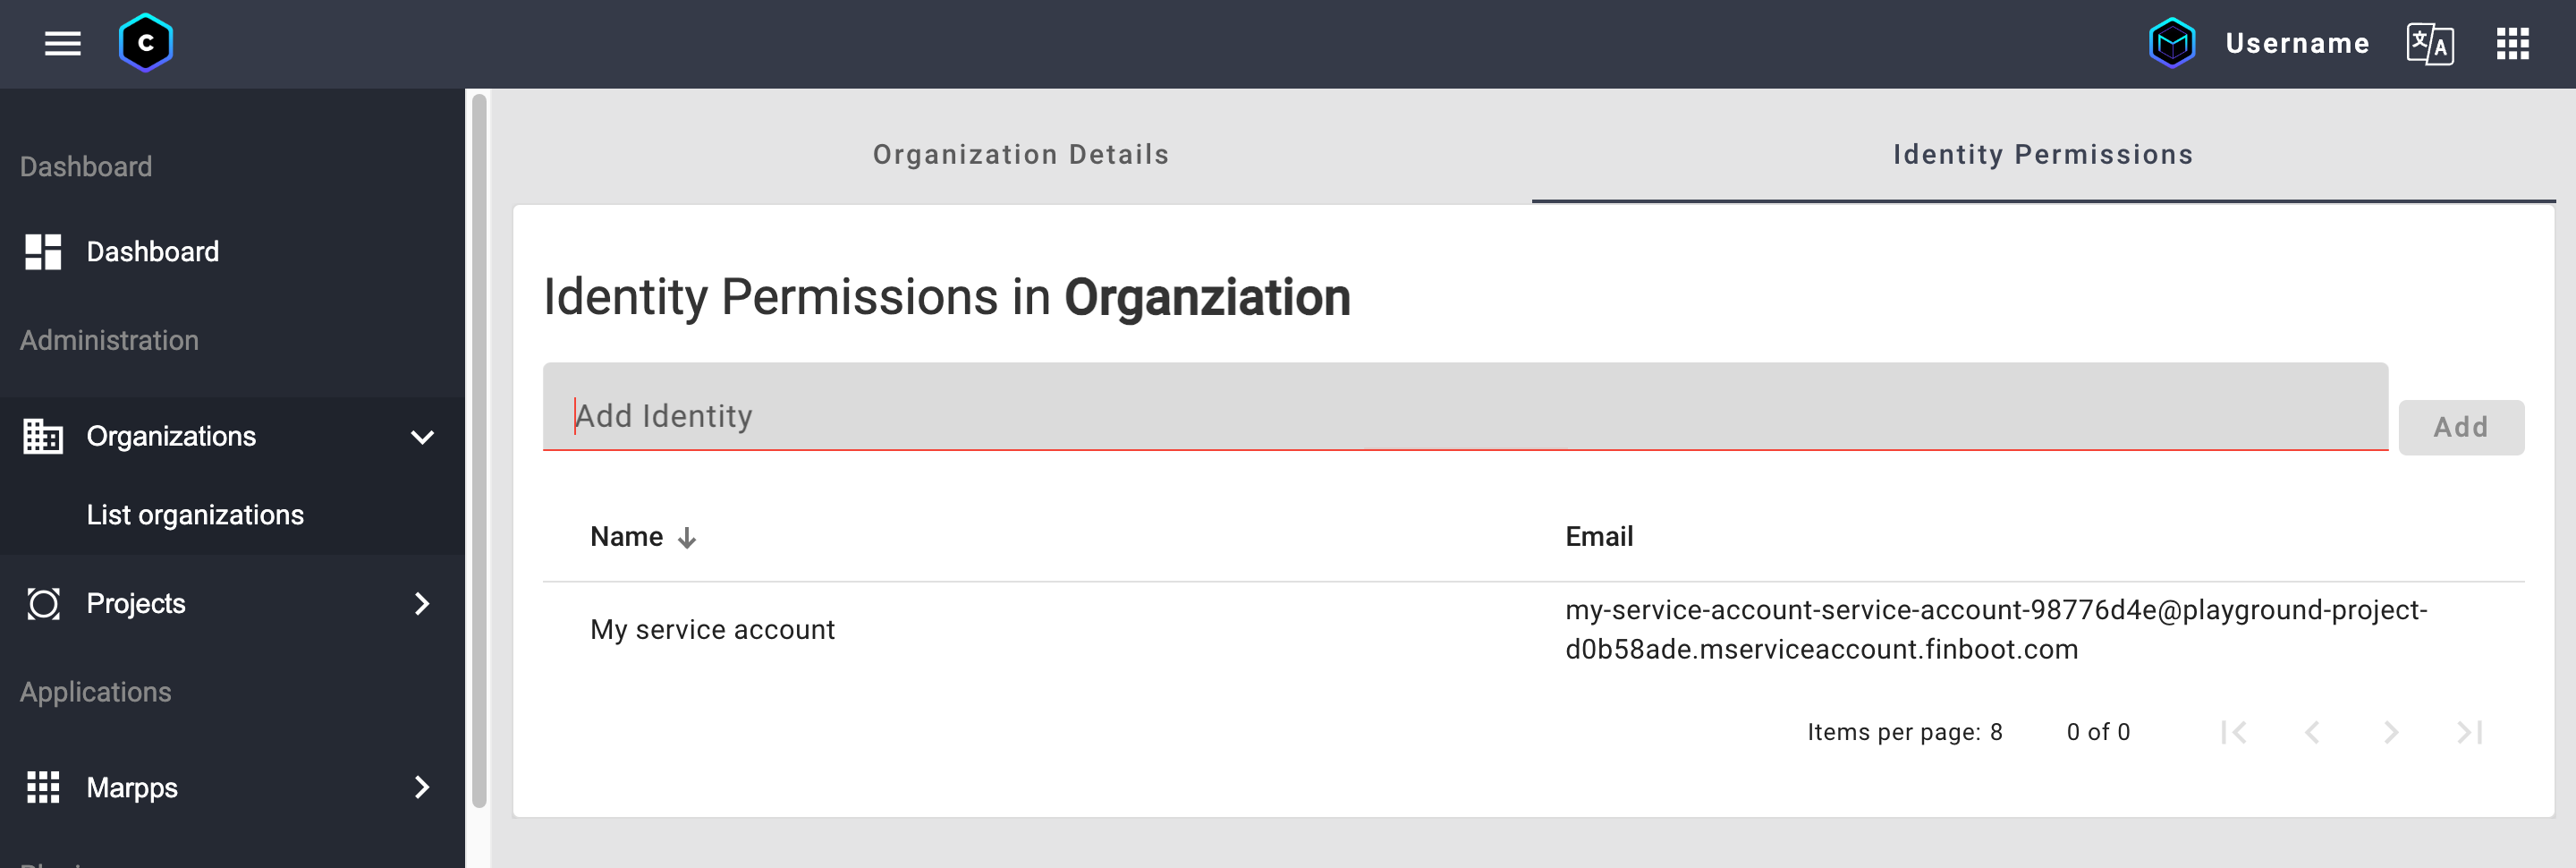
- Select the identity you want to assign a role.
- On the Grant Role field, select the role you want to assign to the identity.
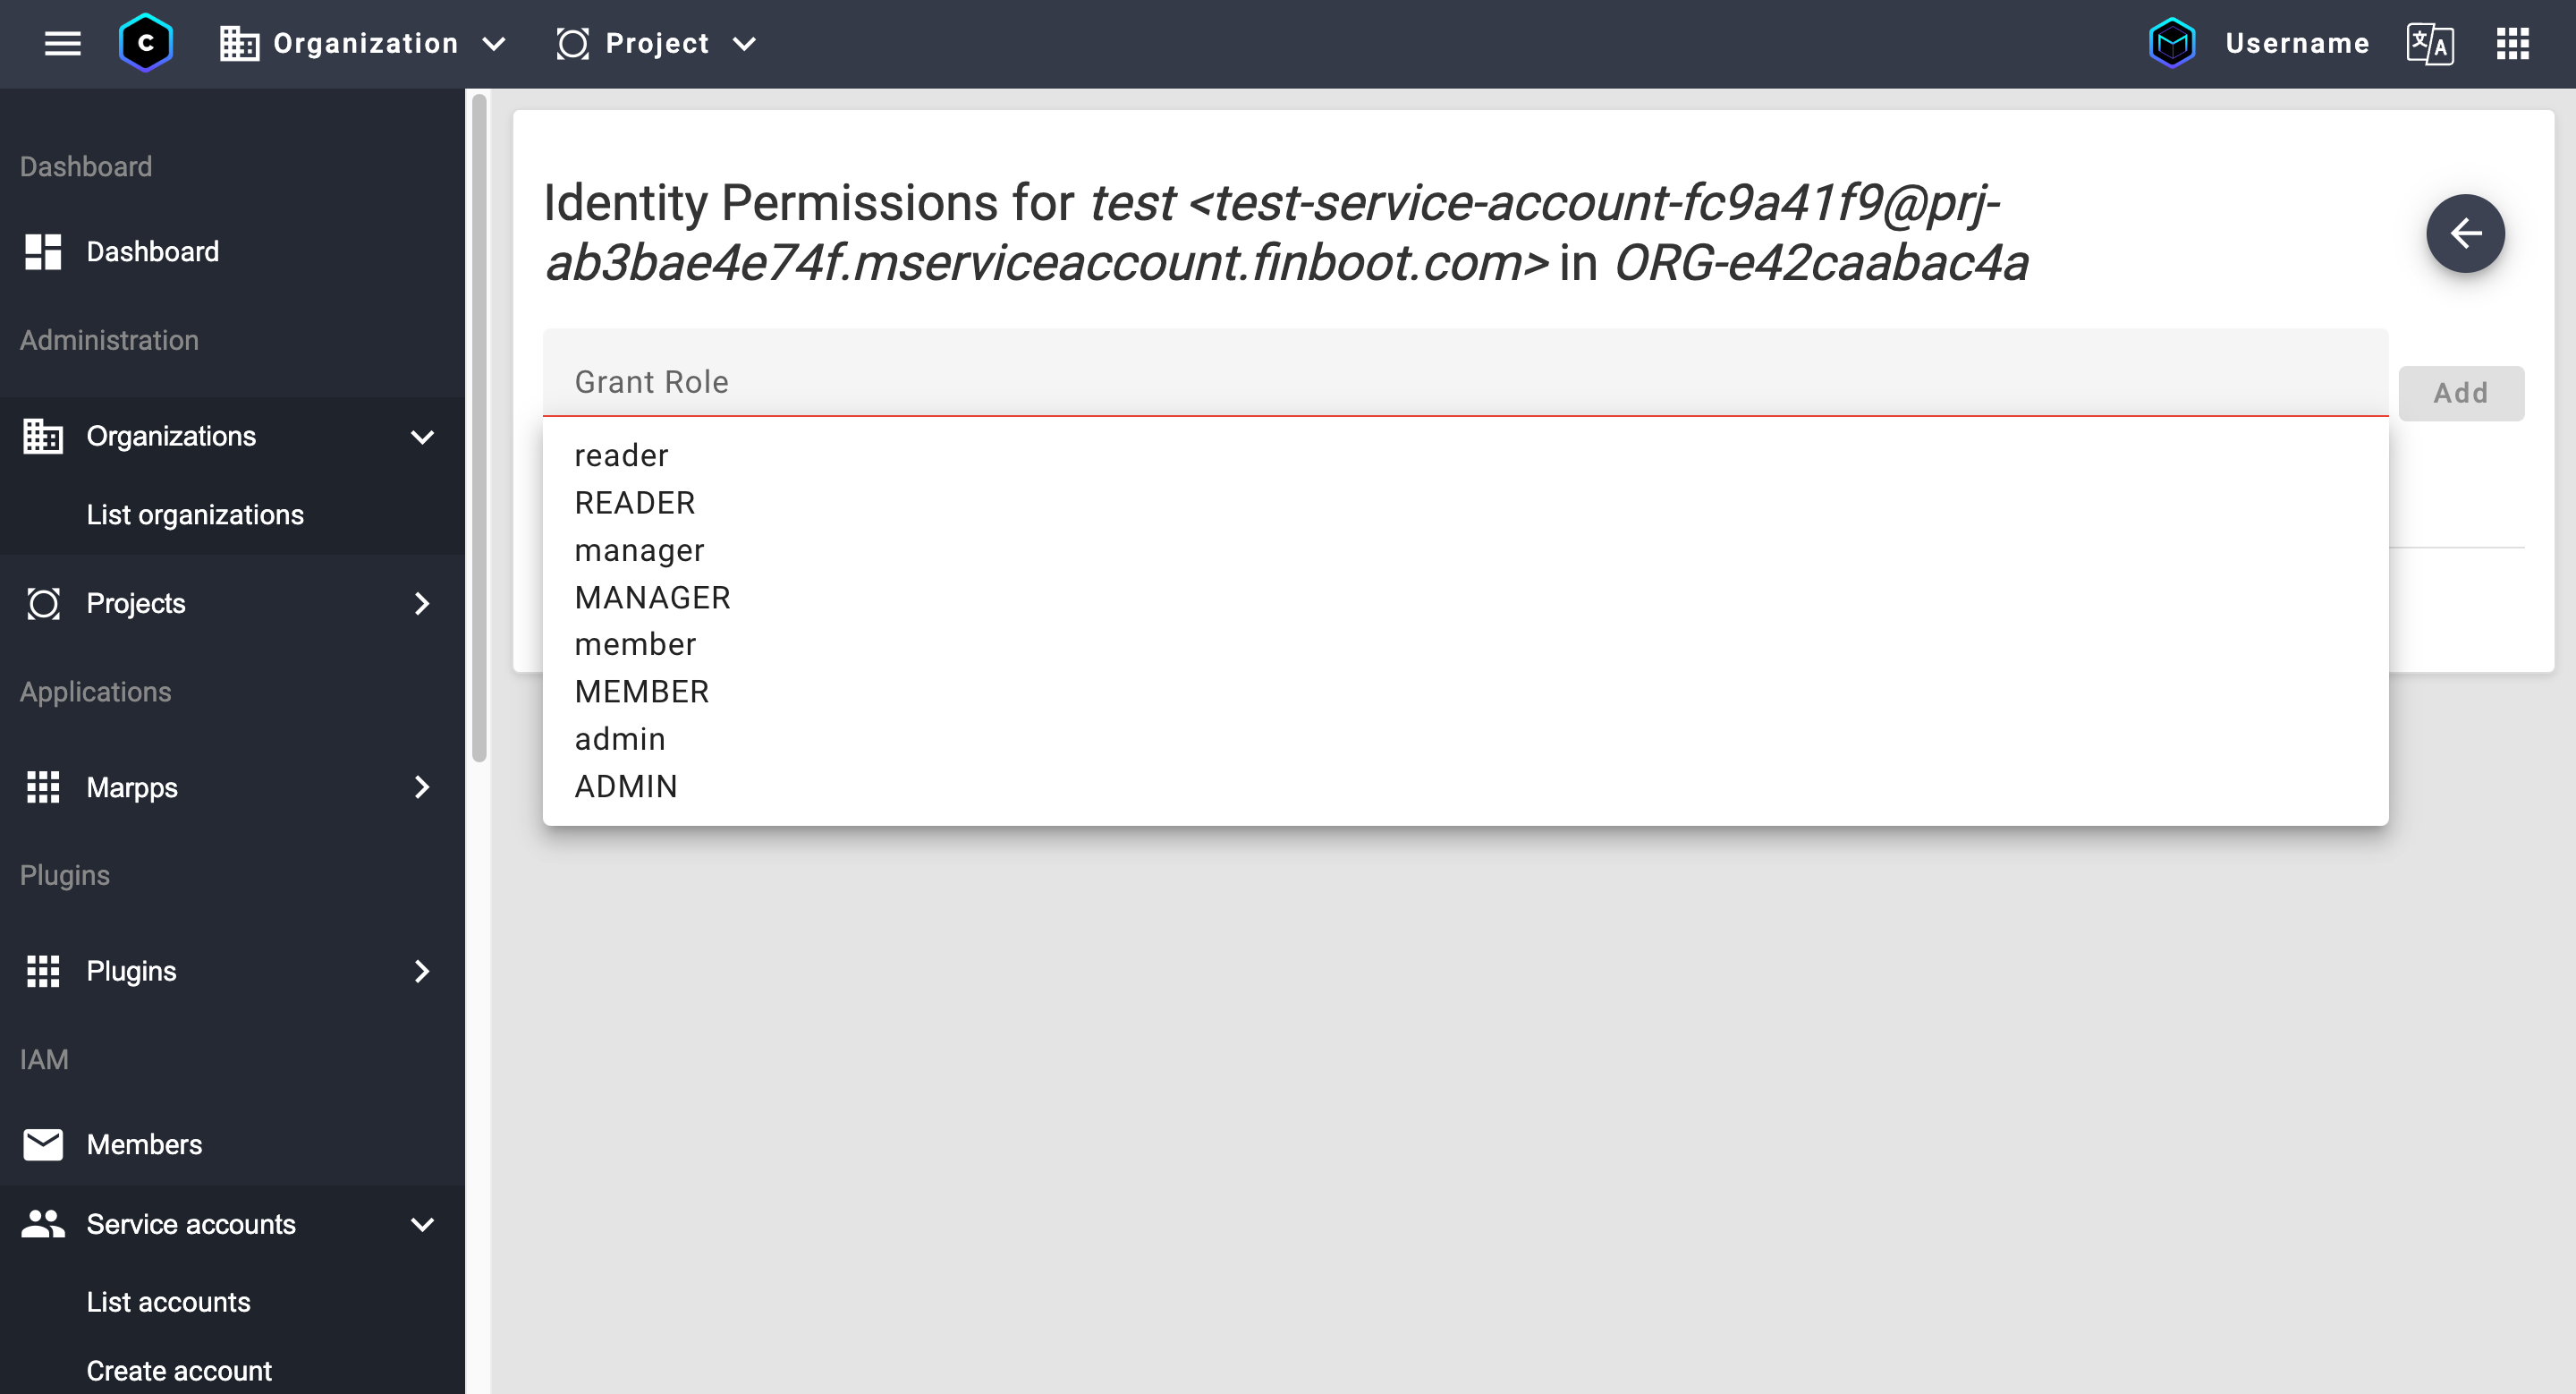
- Click Add.
Now, the identity has the role(s) you assigned over all the organization projects and resources.
Assign roles at the project level
To assign a role to an identity at the project level:
- Open MARCO Console.
- On the left sidebar, go to Administration > Projects > List projects.
- Select the project you want to manage.
- Open the Identity Permissions tab.
- Select the identity you want to assign a role.
- On the Grant Role field, select the role you want to assign to the identity.
- Click Add.
Now, the identity has the role(s) you assigned over all the project's resources.
Assign roles at the resource level
To assign a role to an identity at the resource level:
- Open MARCO Console, open the resource you want to manage.
- Open the Identity Permissions tab.
- Select the identity you want to assign a role.
- On the Grant Role field, select the role you want to assign to the identity.
- Click Add.
Now, the identity has the role(s) you assigned over the specific resource.